
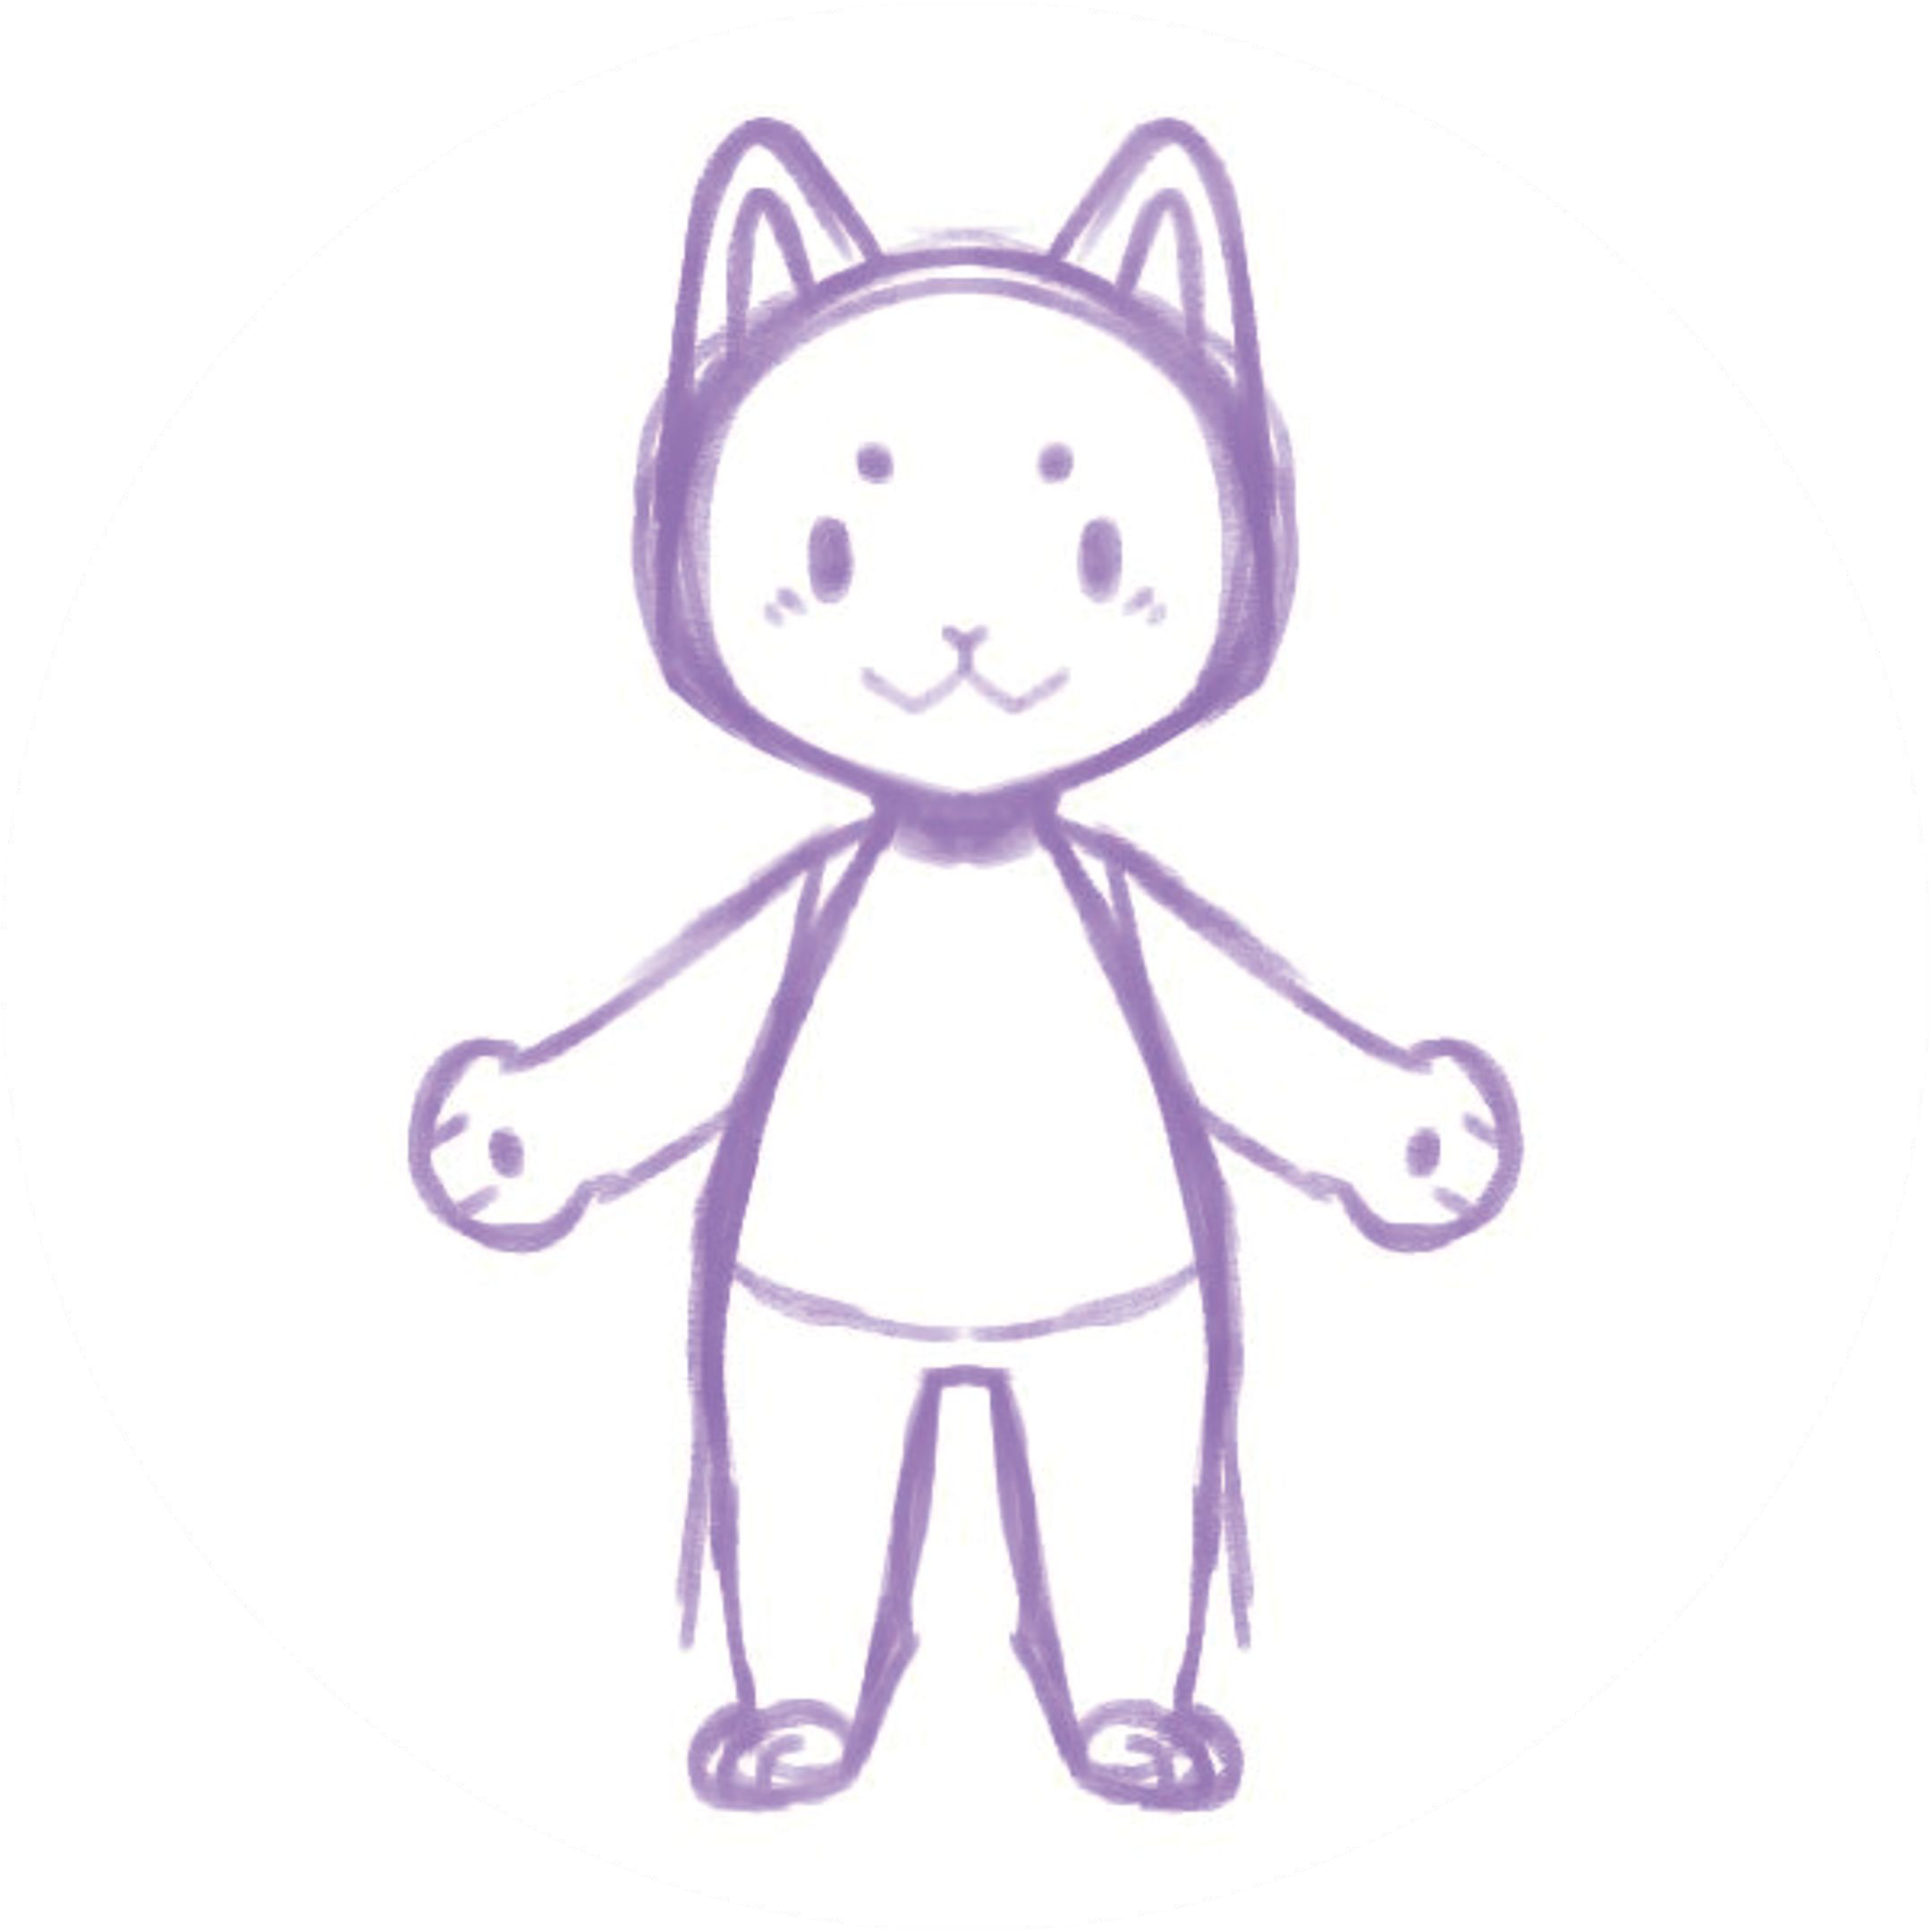
An animated website mascot can give visitors a recognizable guide to your brand. It might greet someone on a landing page, draw attention to a useful section, or introduce an experience in your own illustration style.
Before adding movement, decide what the mascot should do for a visitor. A character that has a clear purpose is easier to design, integrate and evaluate than one that moves everywhere simply because it can.
1. Choose a role for the mascot
Start with a specific moment in the visitor's journey. For example:
- Welcome a visitor to a product introduction.
- Point toward a guide or a contact option.
- Give a familiar visual presence to a creative activity.
These are design ideas, not automatic behaviors. Decide which action is useful, and confirm the interaction you want is supported by your chosen setup.
2. Prepare character artwork
Use a drawing or character image that your organization has permission to use. A recognizable outline and visible features make it easier to judge whether the character works at a small size. Keep an editable original and review the animated result with the people responsible for the brand.
A still character can be displayed as an image. If your goal is movement or an interactive experience, you'll need a format and integration that support it.
3. Choose the right kind of animation
A looping image can work for a simple, repeating decoration. An interactive character is a different kind of project: it needs an integration that connects the character's behavior to the page.
Hasho's website workflow provides a package containing a .yusha character and a web SDK. The exact integration and available features depend on the setup and edition, so discuss your intended experience before building around a specific behavior. Explore Hasho website mascots.
4. Plan the website integration
Work with the person who maintains your website to determine where the character will appear and how it will be loaded. Confirm the website environment, licensing requirements and any actions the character needs to trigger. Start with a test page before adding it to an important customer journey.
If the experience collects information or uses voice or chat, document what is collected and confirm the details with the relevant service provider. Avoid promising a privacy outcome you haven't verified.
5. Test the visitor experience
Review the page on a phone and a desktop. Check that the character doesn't cover navigation, text, forms or accessibility controls. If the character is interactive, make its controls understandable and test whether visitors can reach them with a keyboard.
Also consider visitors who prefer reduced motion: provide a way to limit movement where the implementation supports it, and keep essential information available as ordinary text. Test loading and fallback behavior on the devices and browsers your audience uses.
6. Launch with a clear next step
Once the mascot works on a test page, review the live result and ask someone unfamiliar with the project what they think the character is for. A successful mascot should support the page's purpose and make the experience easier to understand.
Have artwork and a website in mind? Contact the Hasho team to discuss your project and the integration you need.
